Here, we will try to configure Apache Tomcat for SSL based request.
In a previous post, I showed how Certificates are generated
First of all, download 32/64 bit versions of Tomcat 6.0 from below links
Unzip either of the above under in C drive
In Windows 7, launch Command Prompt in Administrative mode and set below environment variables.
Set ‘JAVA_HOME’ environment variable to point at the top-level of your Java installation folder (e.g., C:\Program Files\Java\jdk1.6.0_21).
set JAVA_HOME=C:\Program Files\Java\jdk1.6.0_21
Set ‘CLASSPATH’ environment variable to include “.”, C:\Servlets+JSP, and the servlet/JSP JAR files.
set PATH=%JAVA_HOME%;%PATH%set CLASSPATH=.;C:\[TOMCAT_INSTALLATION_FOLDER]\lib\servlet-api.jar;C:\ [TOMCAT_INSTALLATION_FOLDER]\lib\jsp-api.jar;C:\apache-tomcat-6.0.28\lib\el-api.jar;C:\Servlets+JSP;..;..\..
Now, we will use the sample Catalina Project for our demonstration.
Open C:\[TOMCAT_INSTALLATION_FOLDER]\conf\server.xml and find the Connector element which has port=”8443″ and un-comment it if already not done.
Next, add two lines in there. The highlighted lines are the newly added ones.
Make sure SrvKeystore and the SrvCert.cer files are under webapps folder.
You can see that I have given path to the keystoreFile property as relative to tomcat bin directory because the startup command will look for the SrvKeystore file.
If you have default Connector port as 80, make sure no other application is using it or otherwise change it to 8080 or anything else.
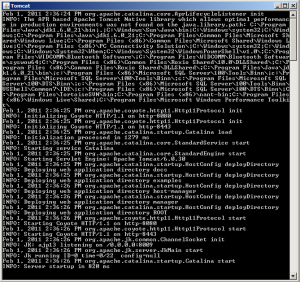
Now start your server.
32 bit version sample:
I got an Apache Exception while using 64 bit version which seems to be rectified in latest version of Apache. Visit the following link for more information
Check status of SSL by going to: https://localhost:8443/
References:http://tomcat.apache.org/tomcat-6.0-doc/ssl-howto.htmlhttp://www.avajava.com/tutorials/lessons/how-do-i-set-up-ssl-on-tomcat.htmlhttp://download.oracle.com/javaee/5/tutorial/doc/bnbxw.html

Login